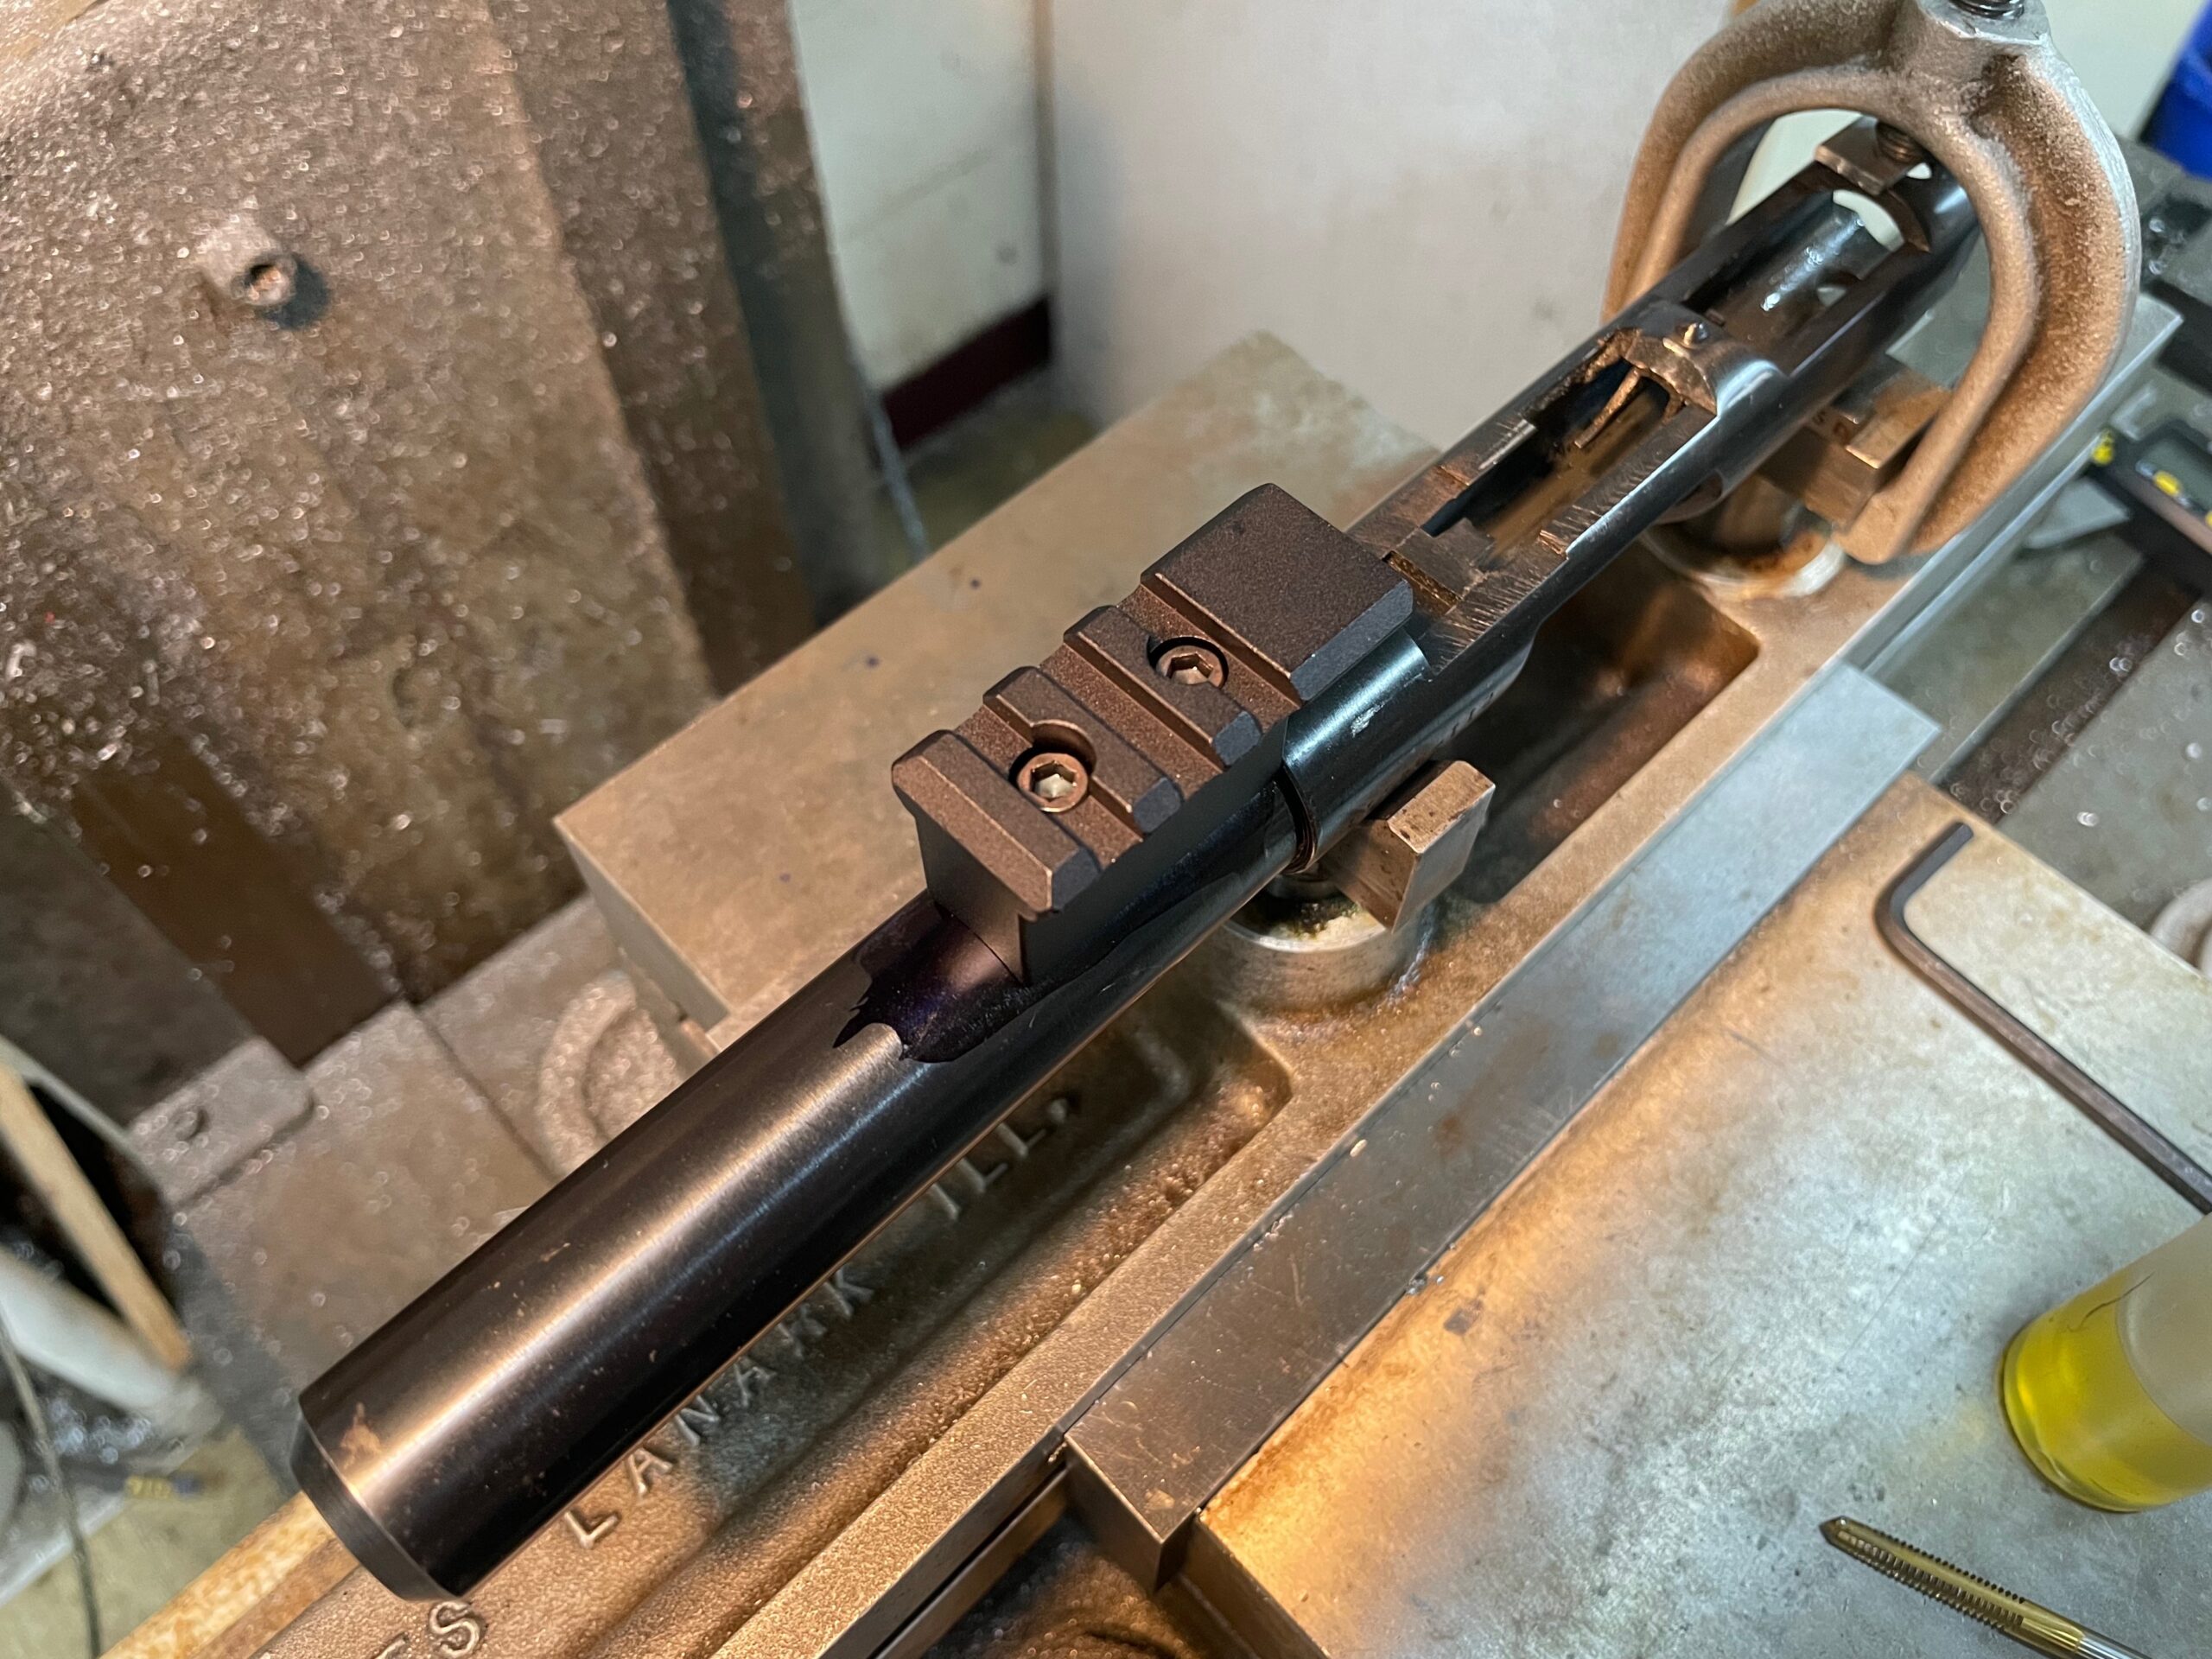
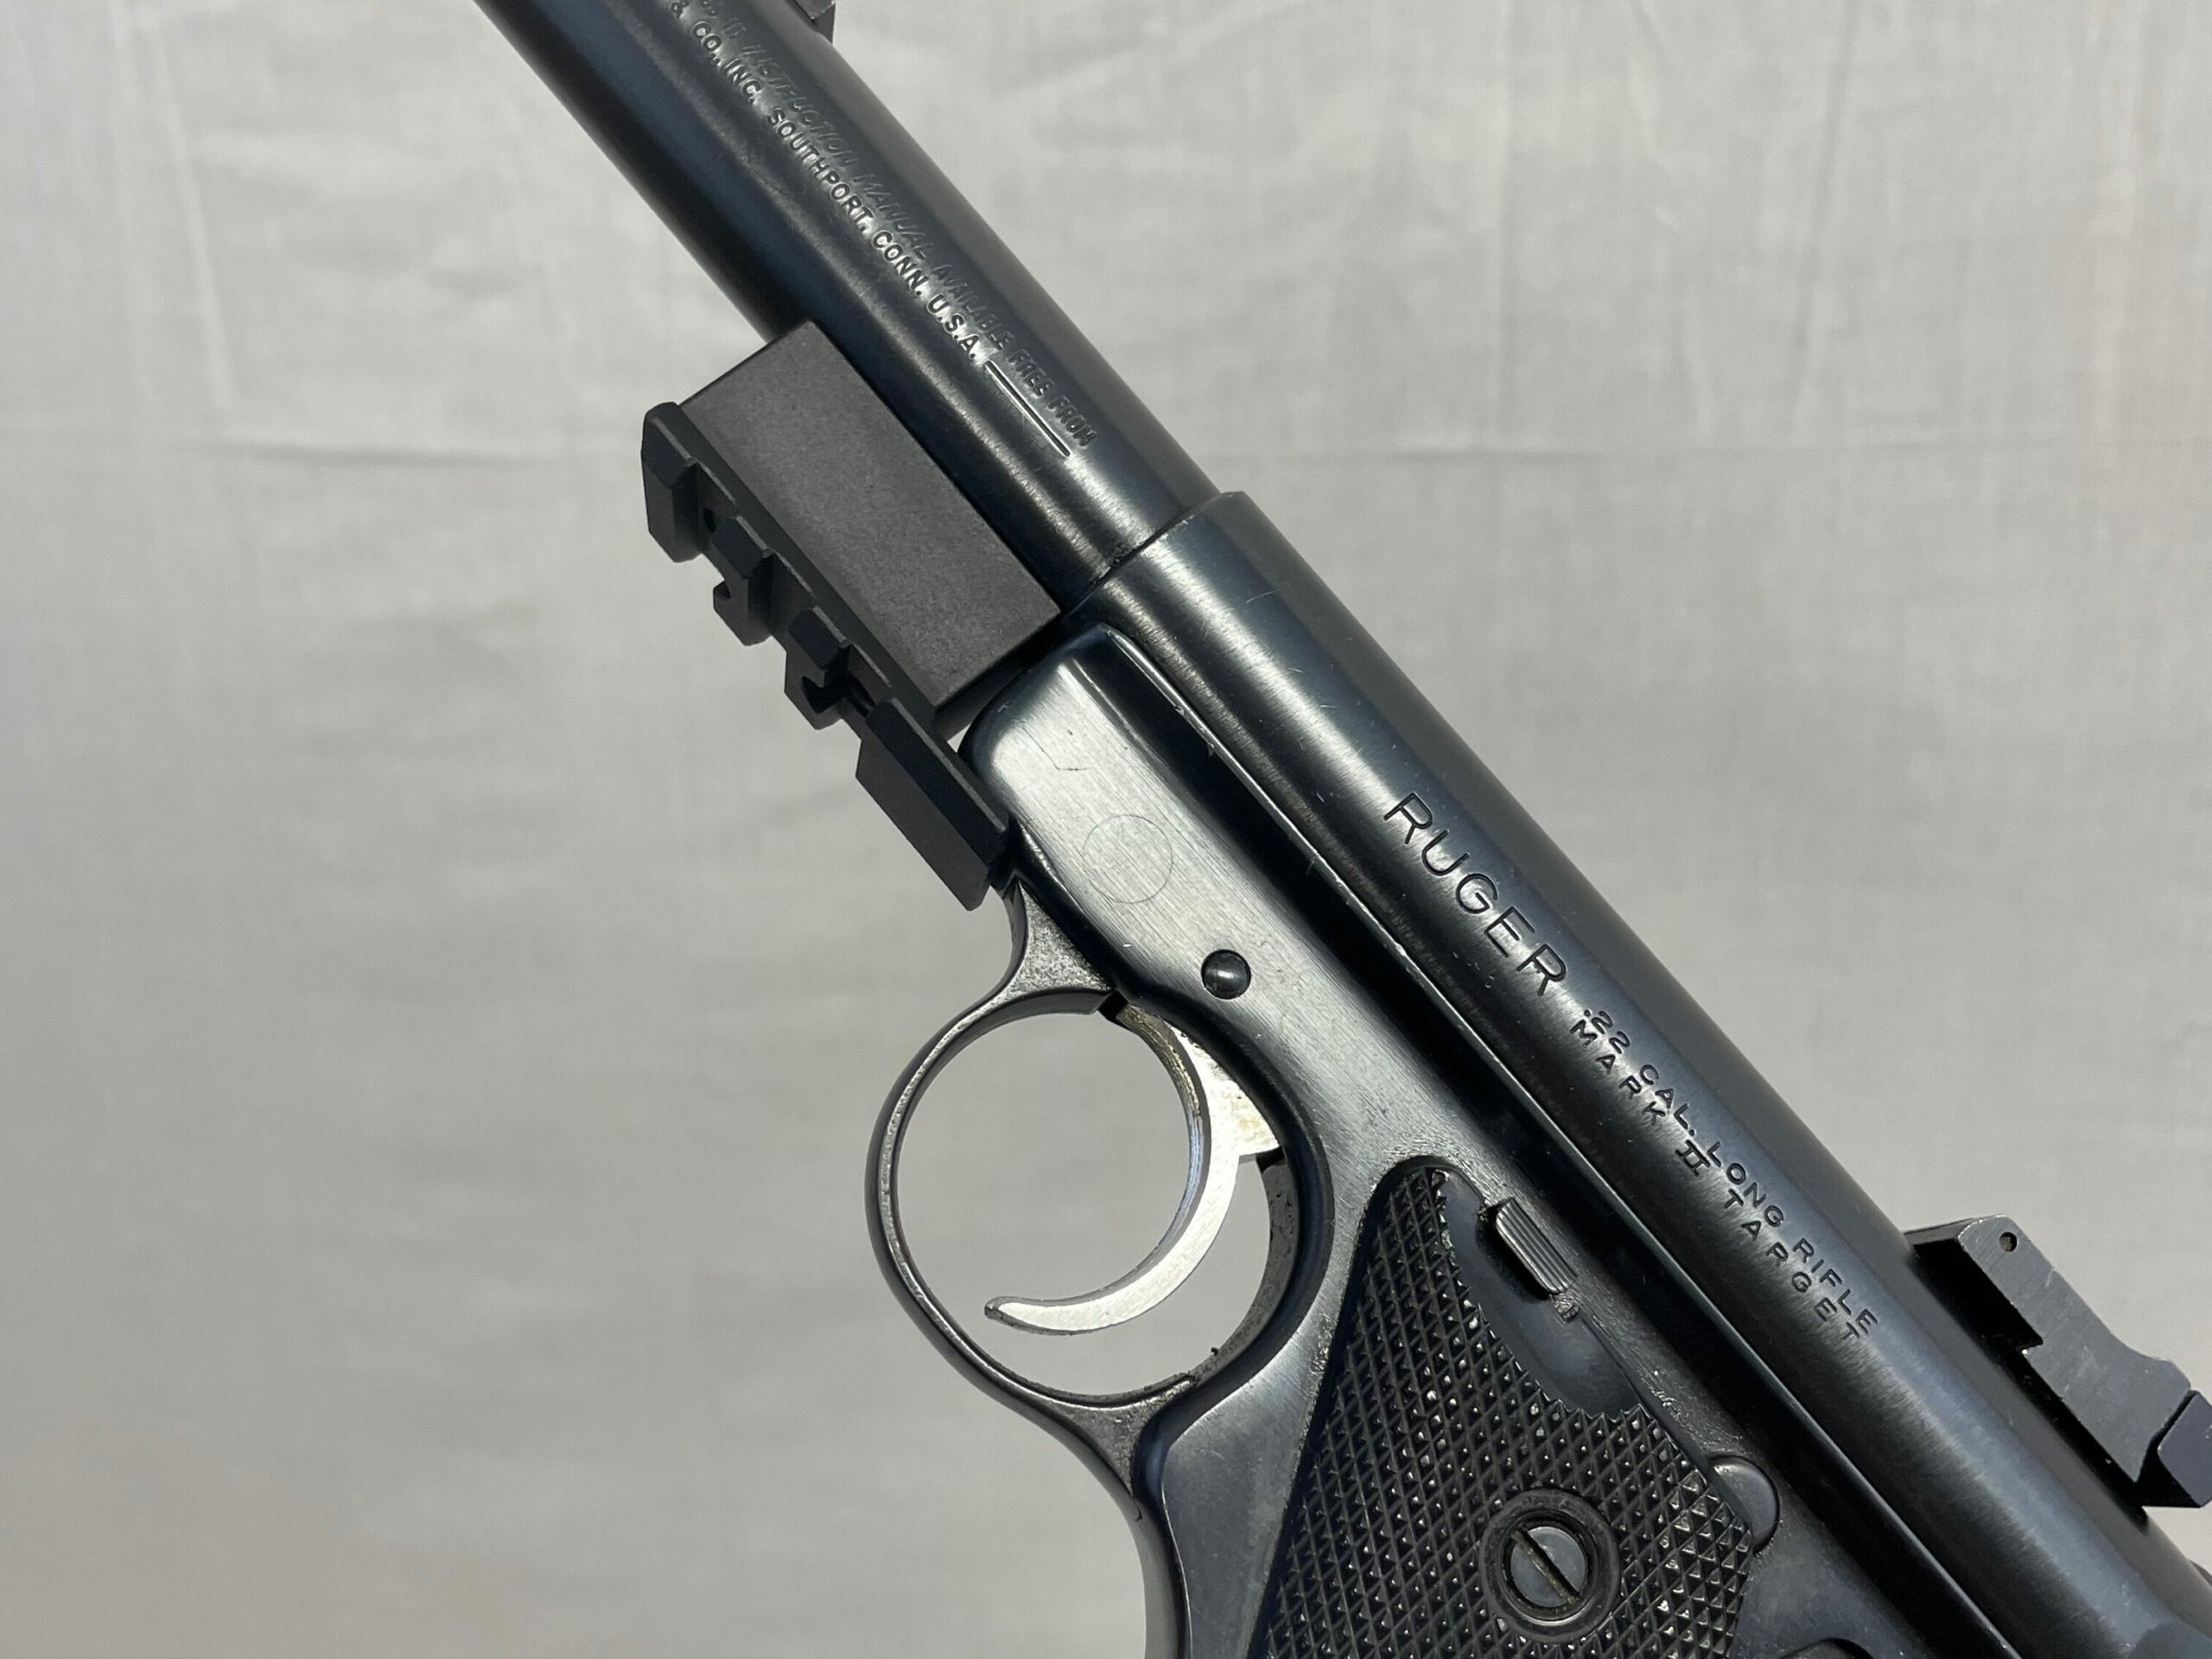
This accessory rail fits Ruger Mk. I, Mk. II, and Mk. III pistols with the metal grip (not the 22/45 versions)
This rail is intended to be installed by a competent gunsmith.
Before anything else, ensure the firearm is unloaded.
On a full 1” outside diameter barrel or integral suppressor, using layout fluid and a scribe, locate and mark the rail’s hole positions leaving a very slight gap between the frame and the rail. Use a feeler gauge if necessary. On a smaller diameter Ruger bull barrel you will be able to zero off the receiver face surface.
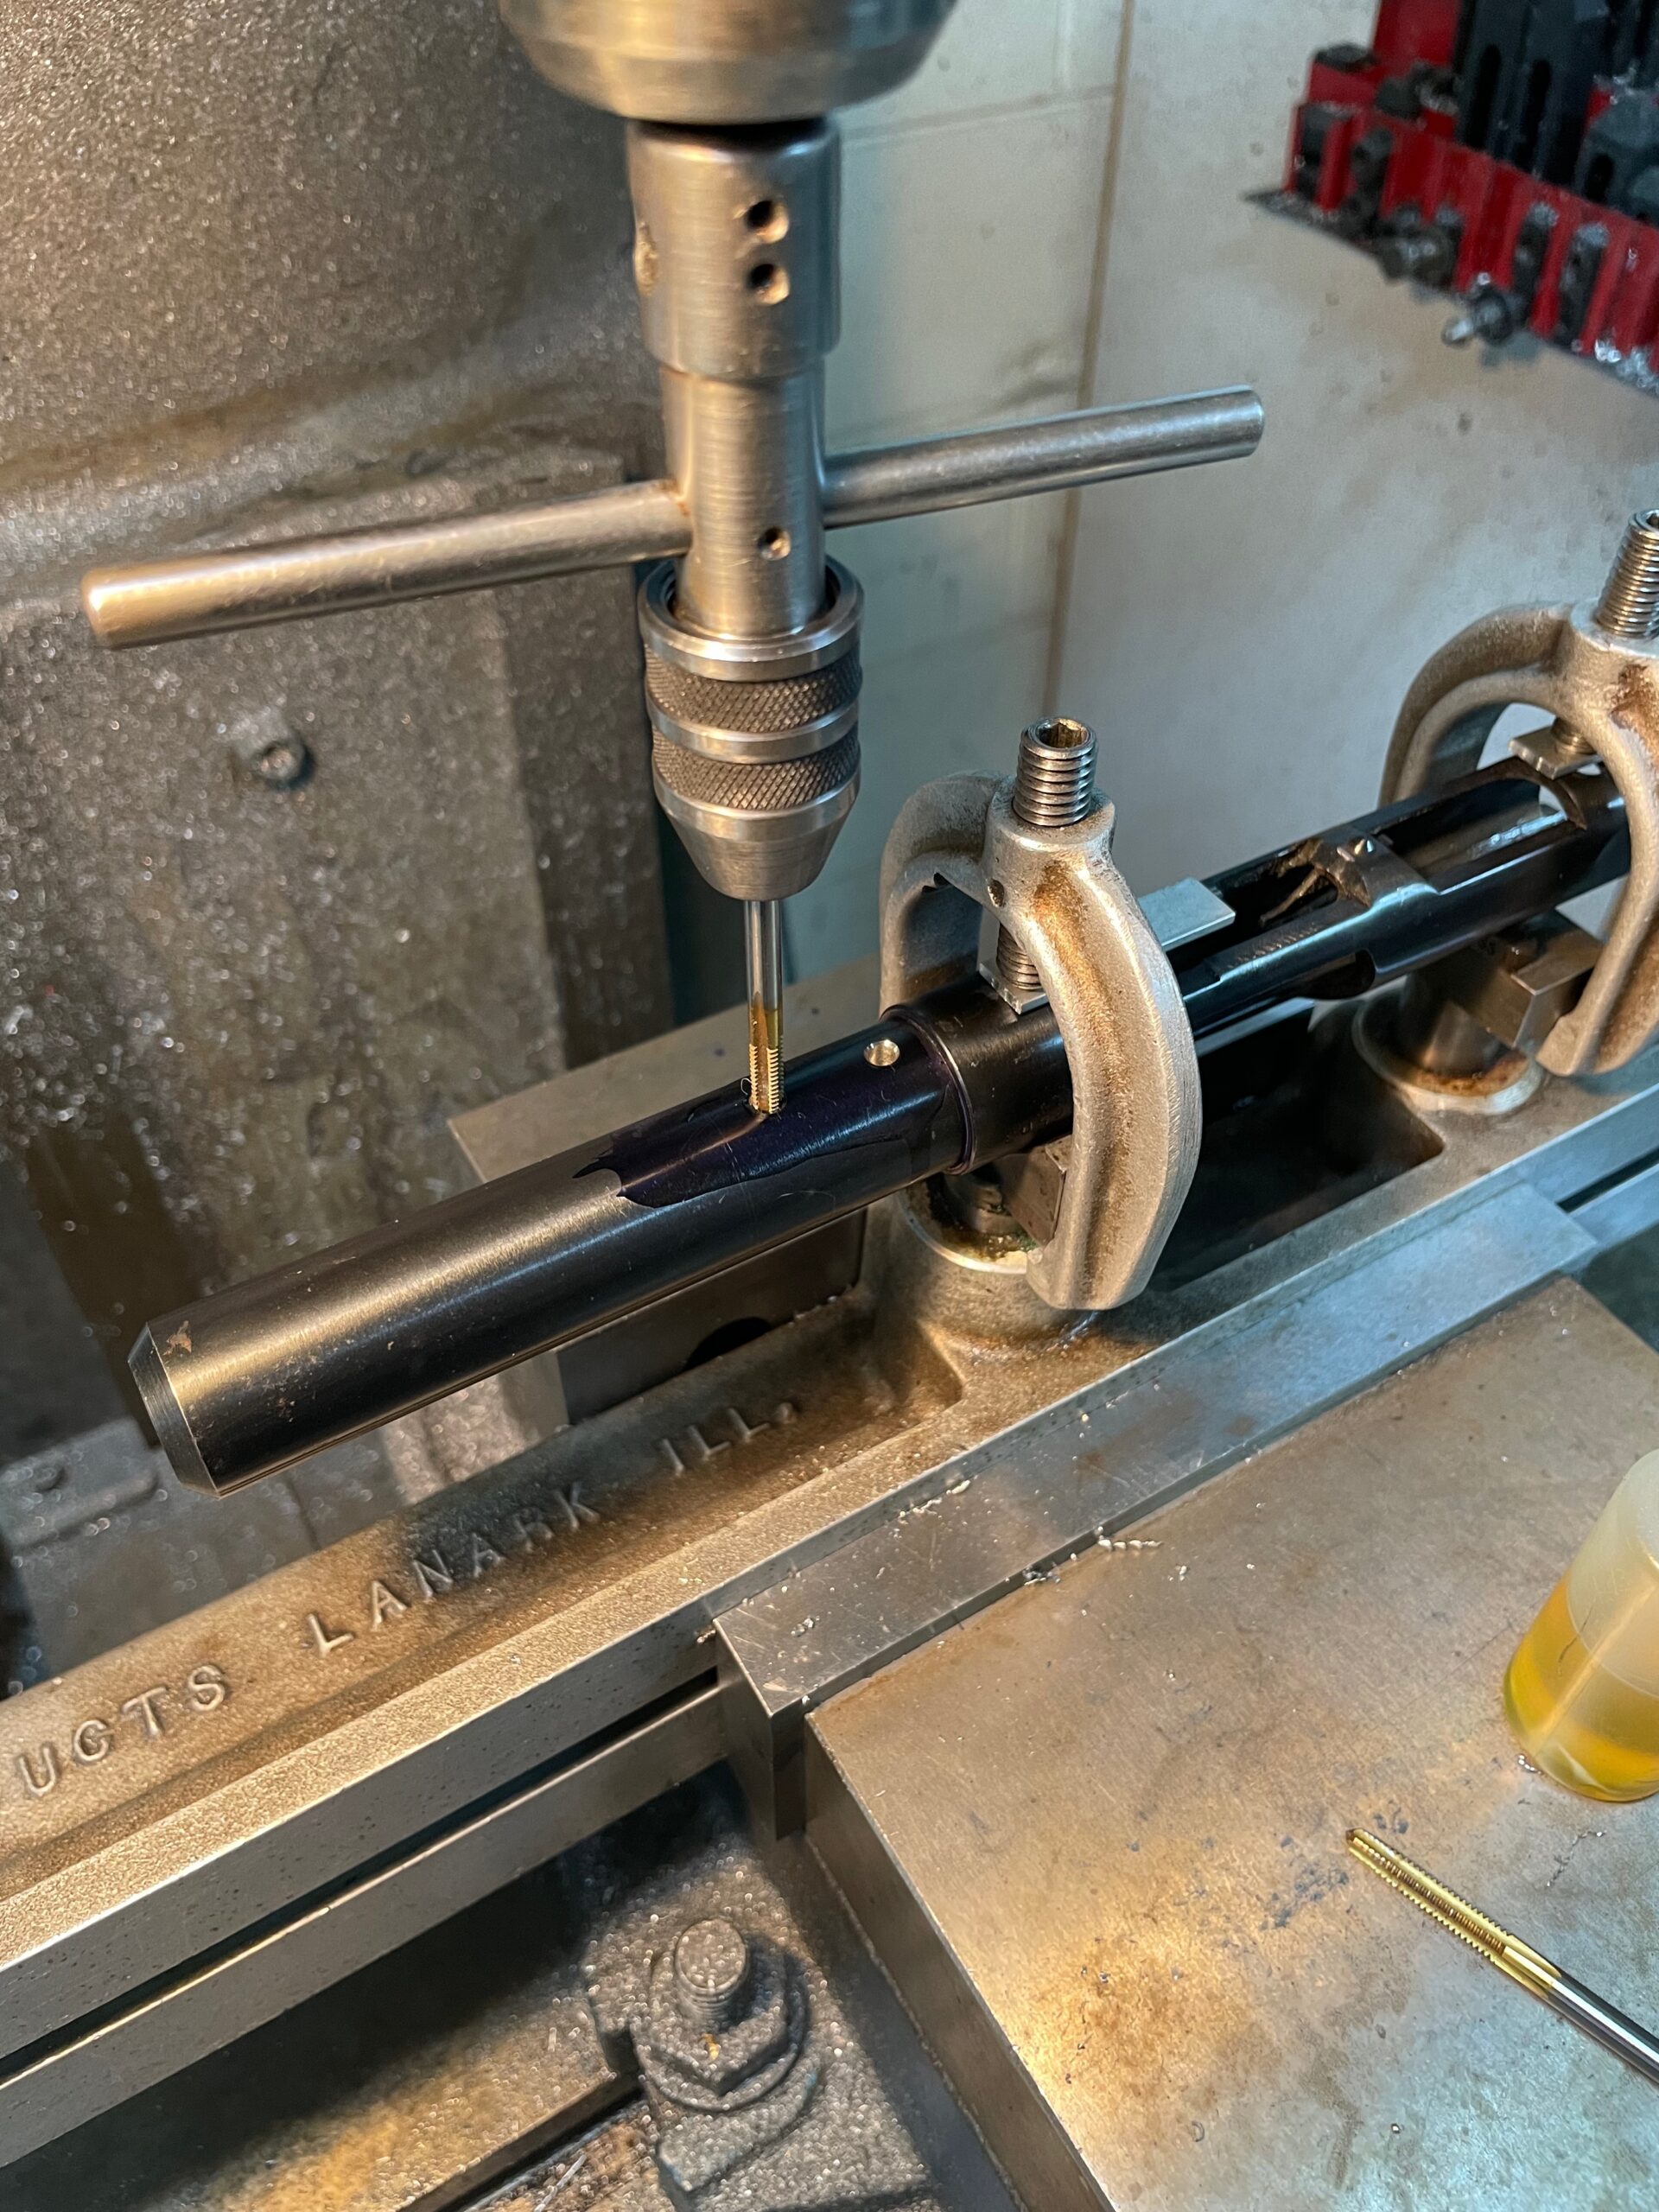
Disassemble the pistol to the stripped barreled receiver assembly. Fixture the barreled receiver in the milling machine so that the assembly sits squarely upside down, and you have access to the barrel for indicating edges and finding centers of holes. In the images below, you will see the barreled receiver clamped securely in a forester fixture using a parallel in the empty rear sight slot to ensure the assembly is held squarely.
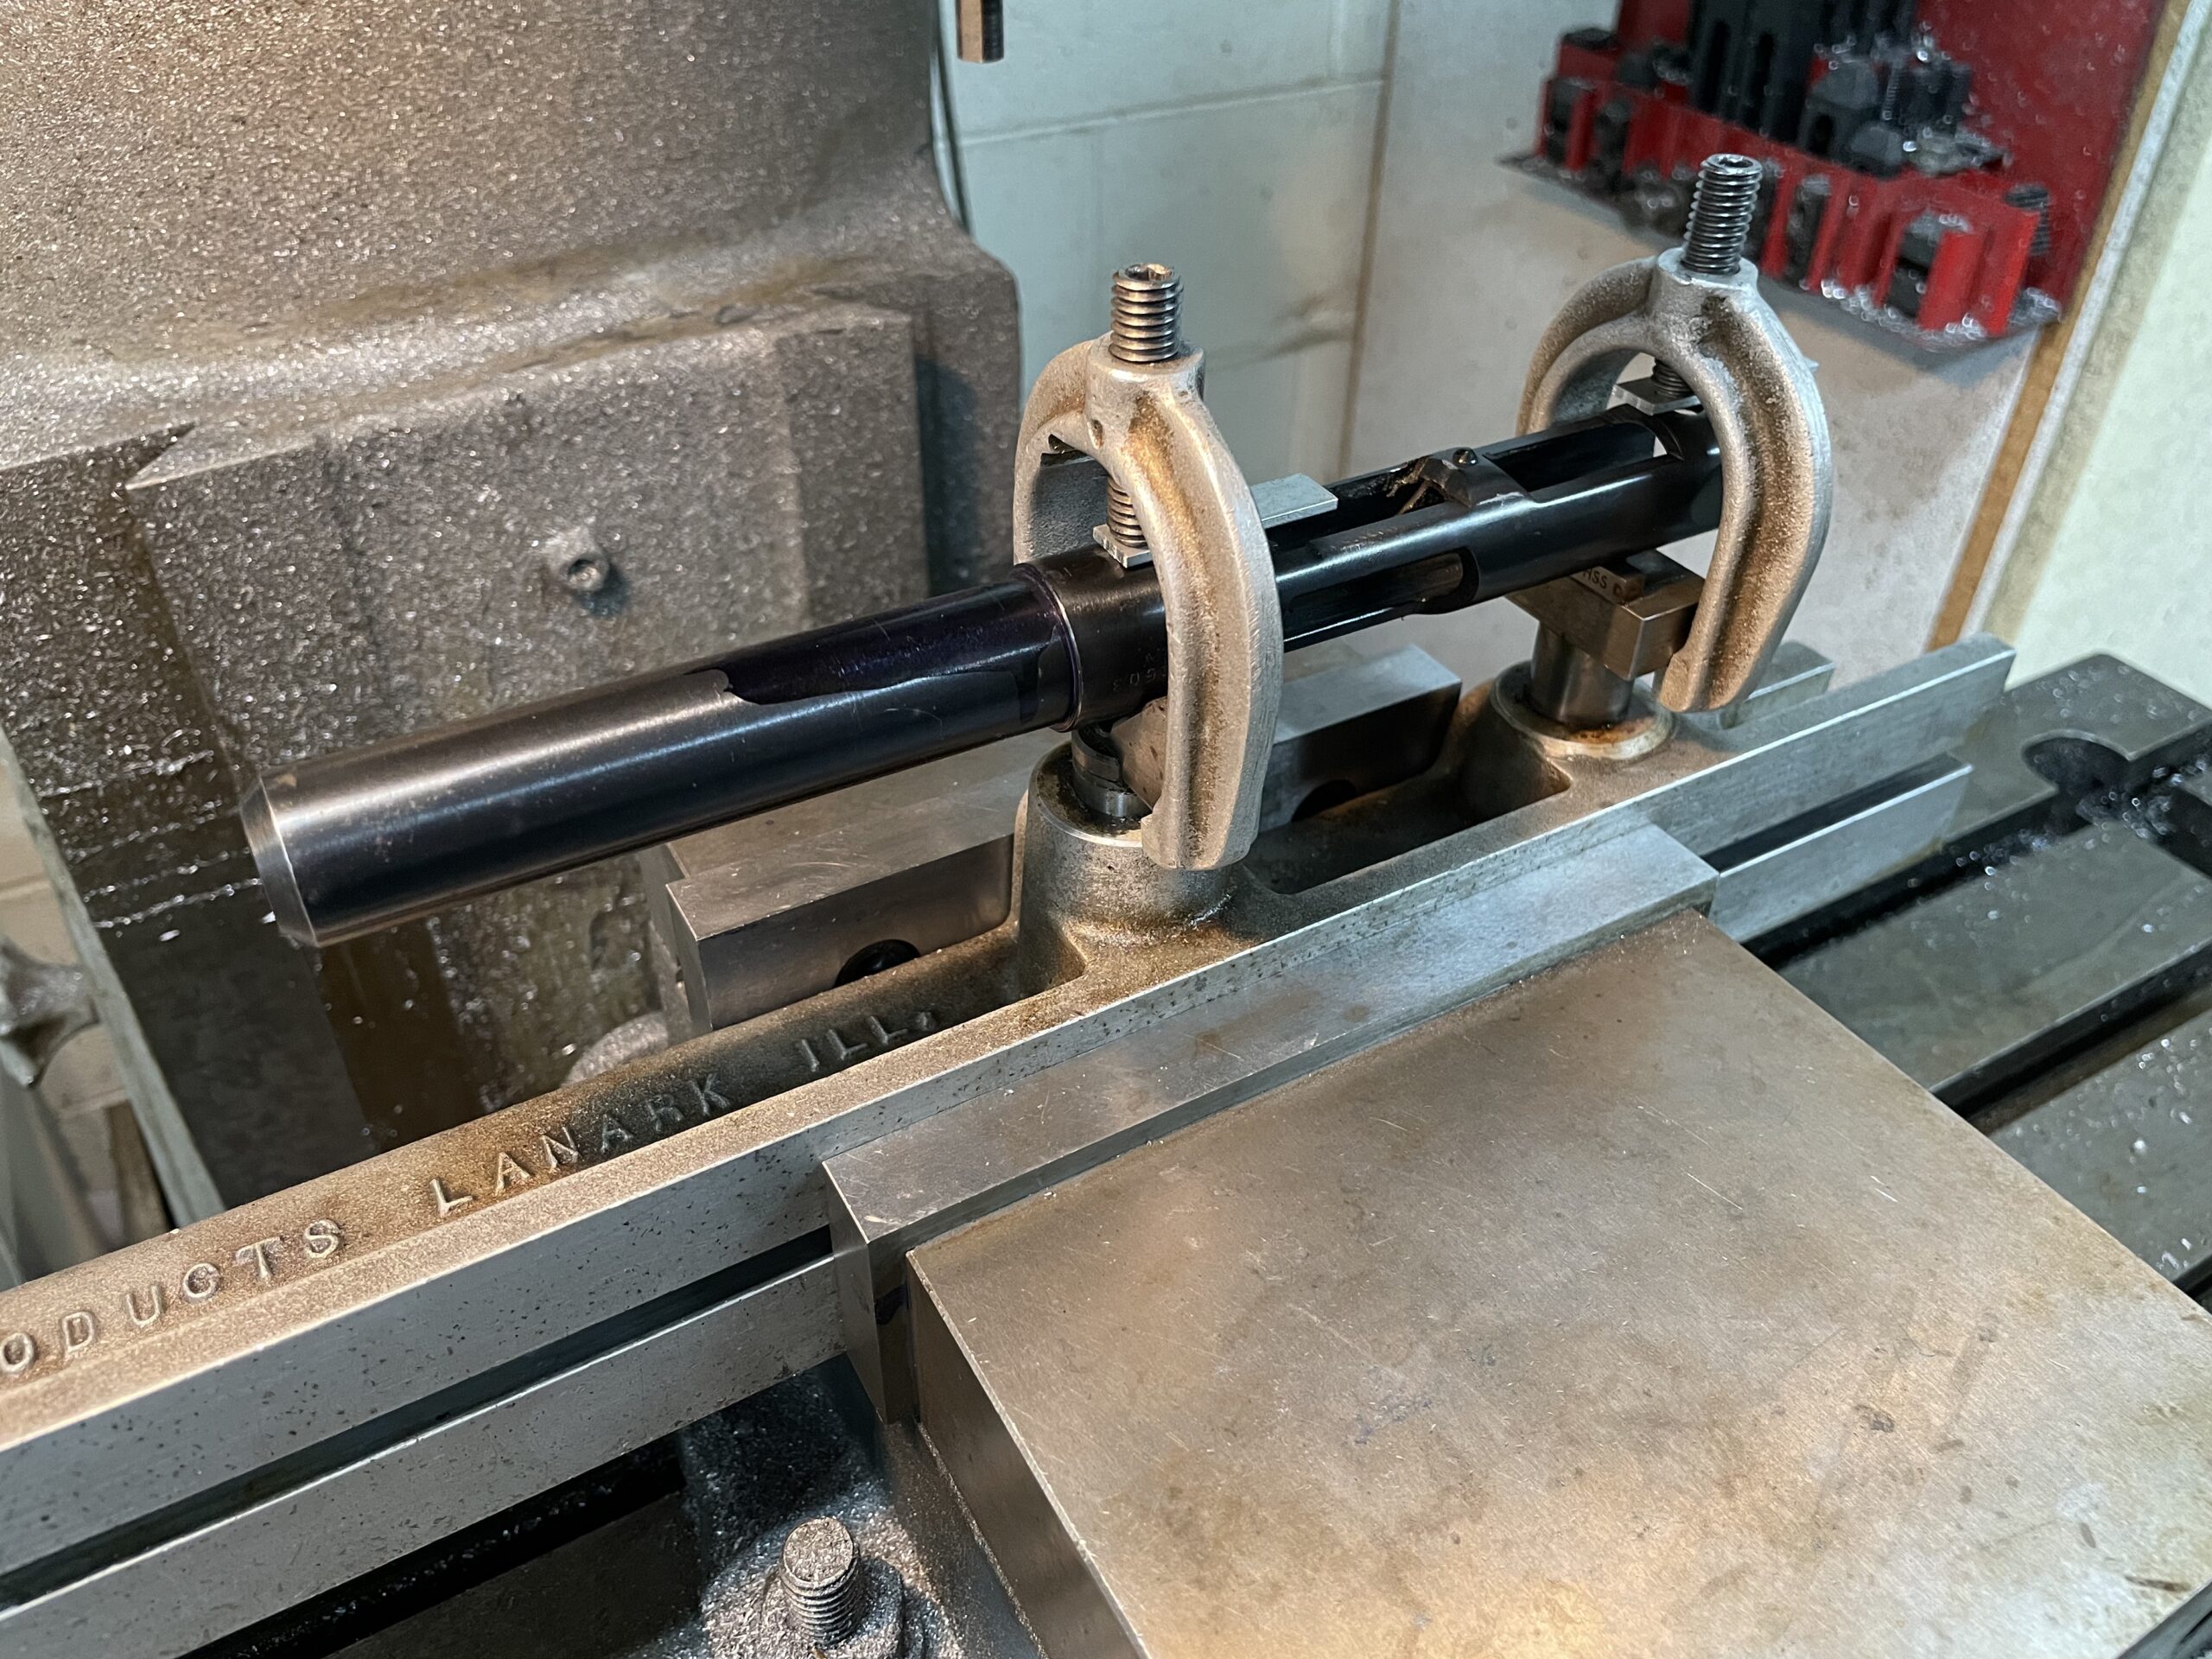
Using an edge finder locate the edge of the barrel and find the centerline. On a bull barrel smaller than the diameter of the receiver, you can now use the edgefinder to zero off the receiver face. Locations of the holes are 0.281” and 0.955” from the receiver face on center, and have a spacing of 0.674” between them.
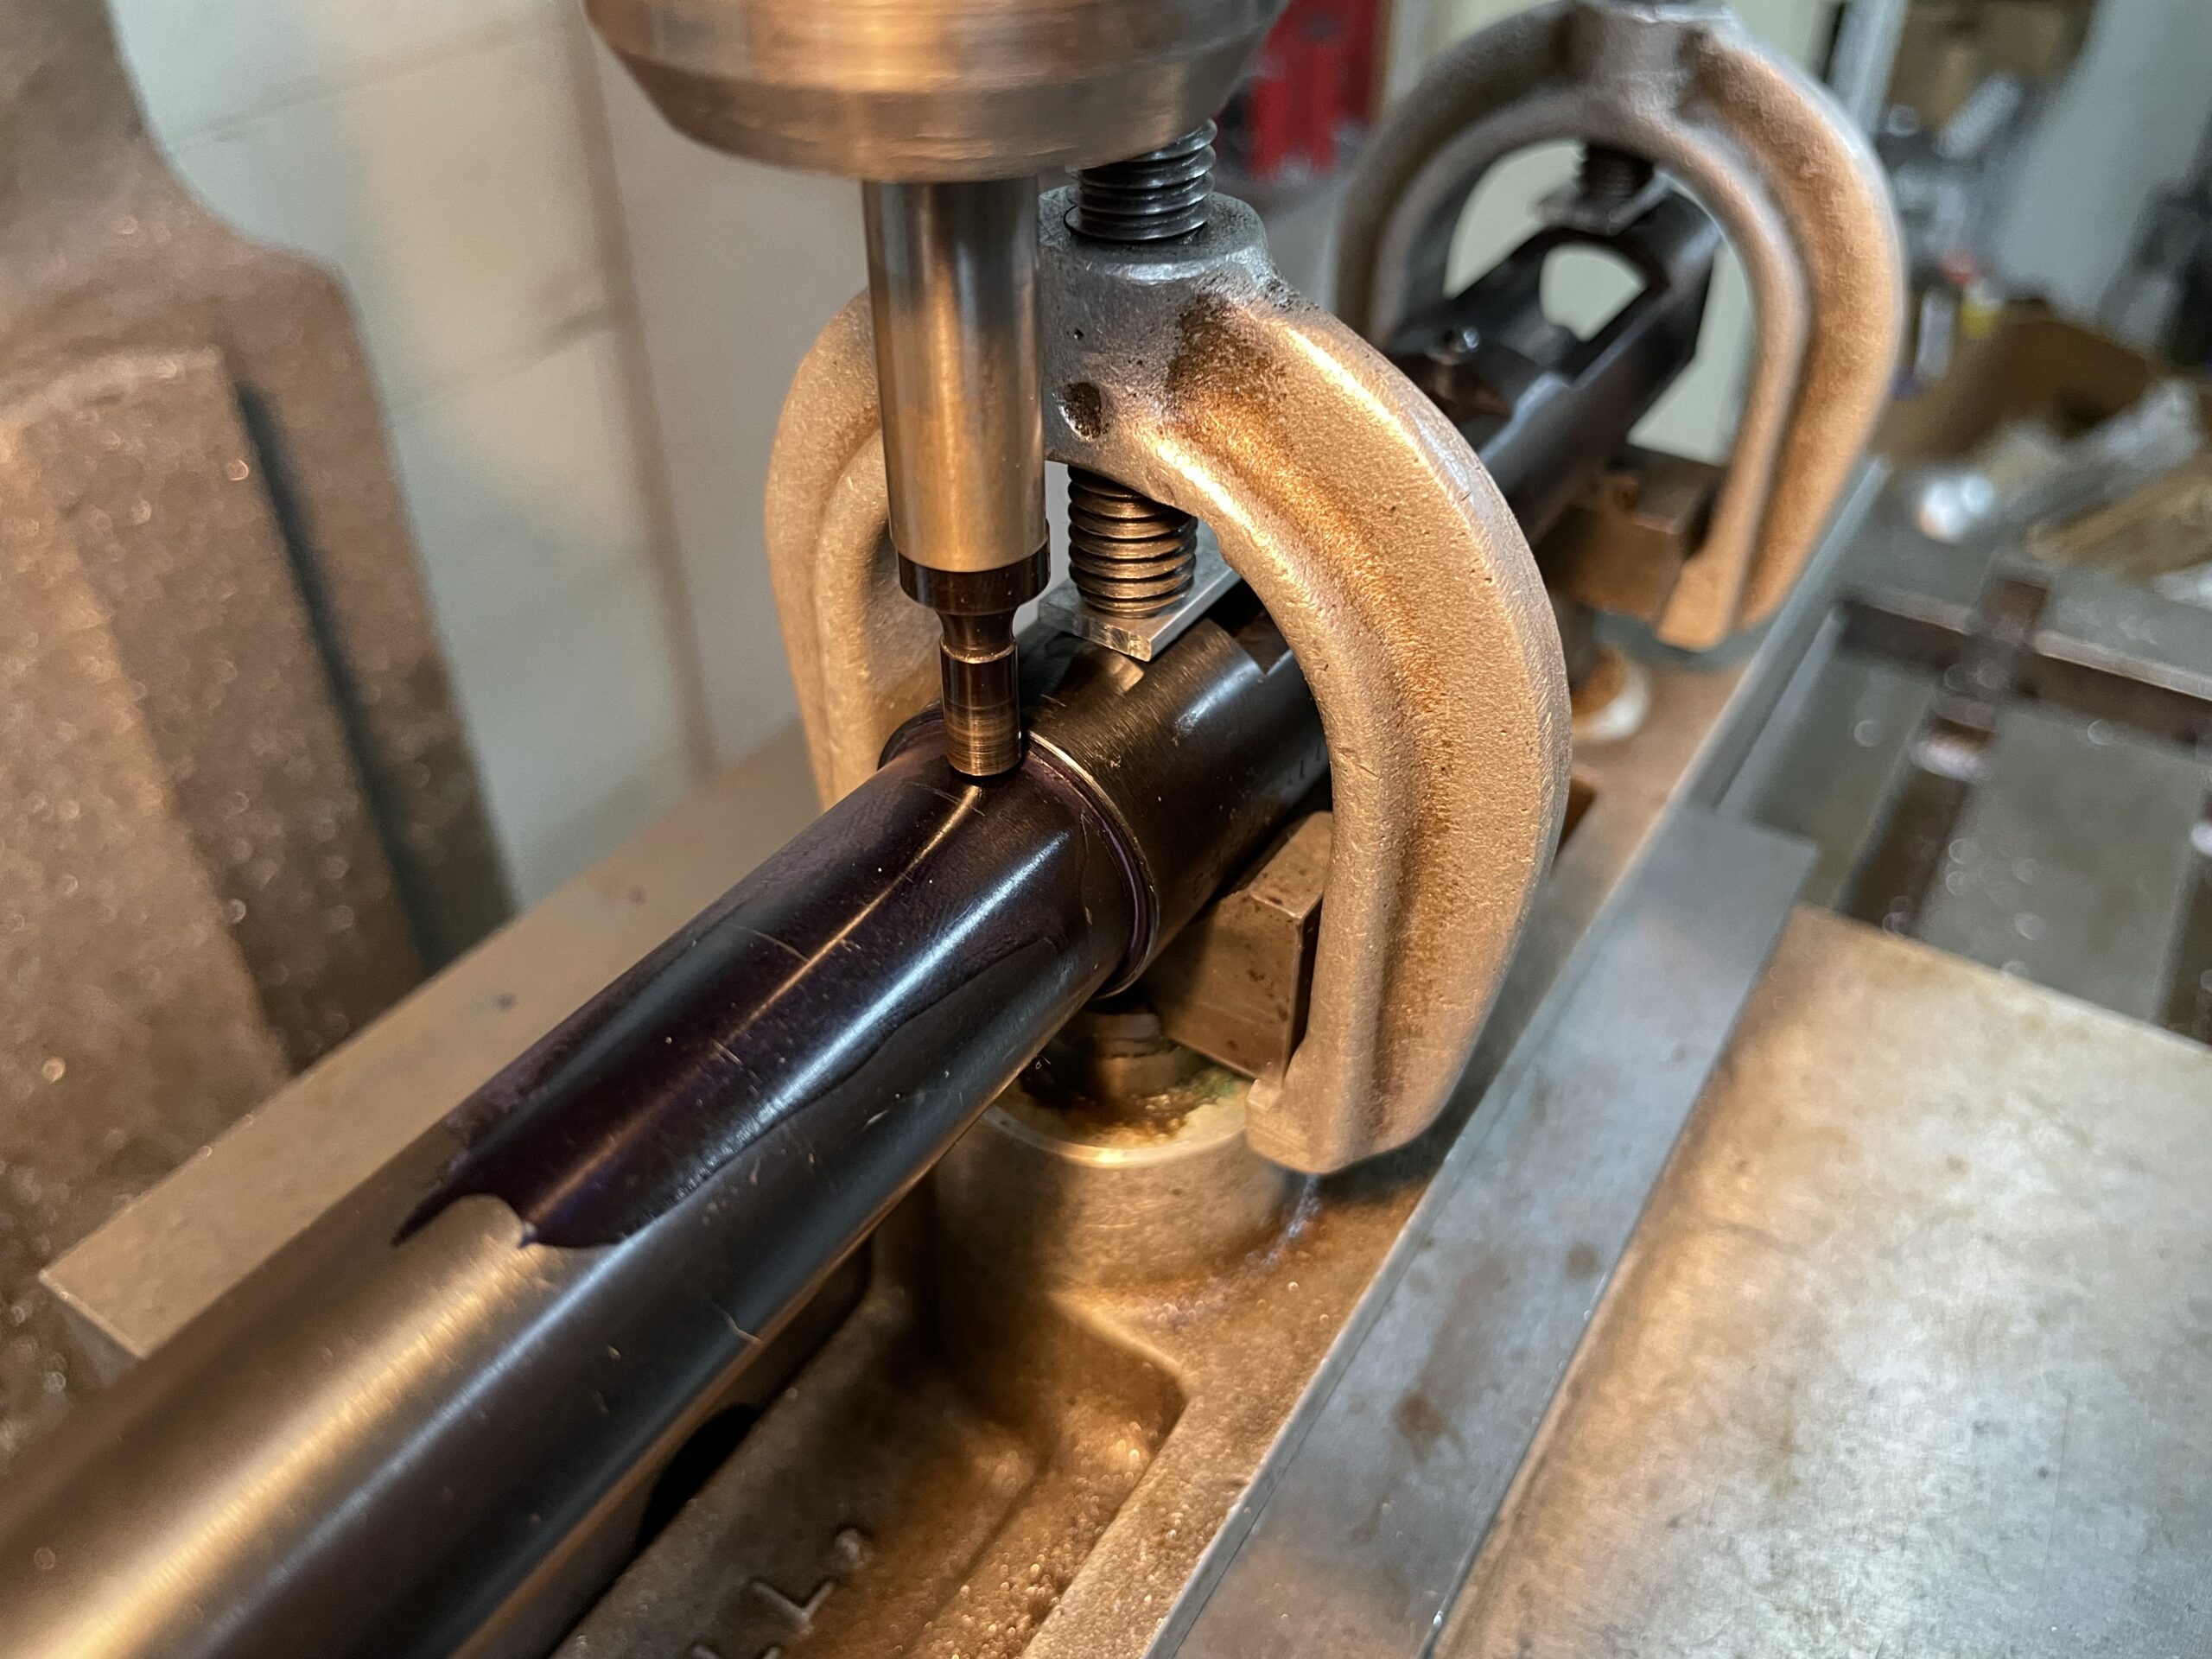
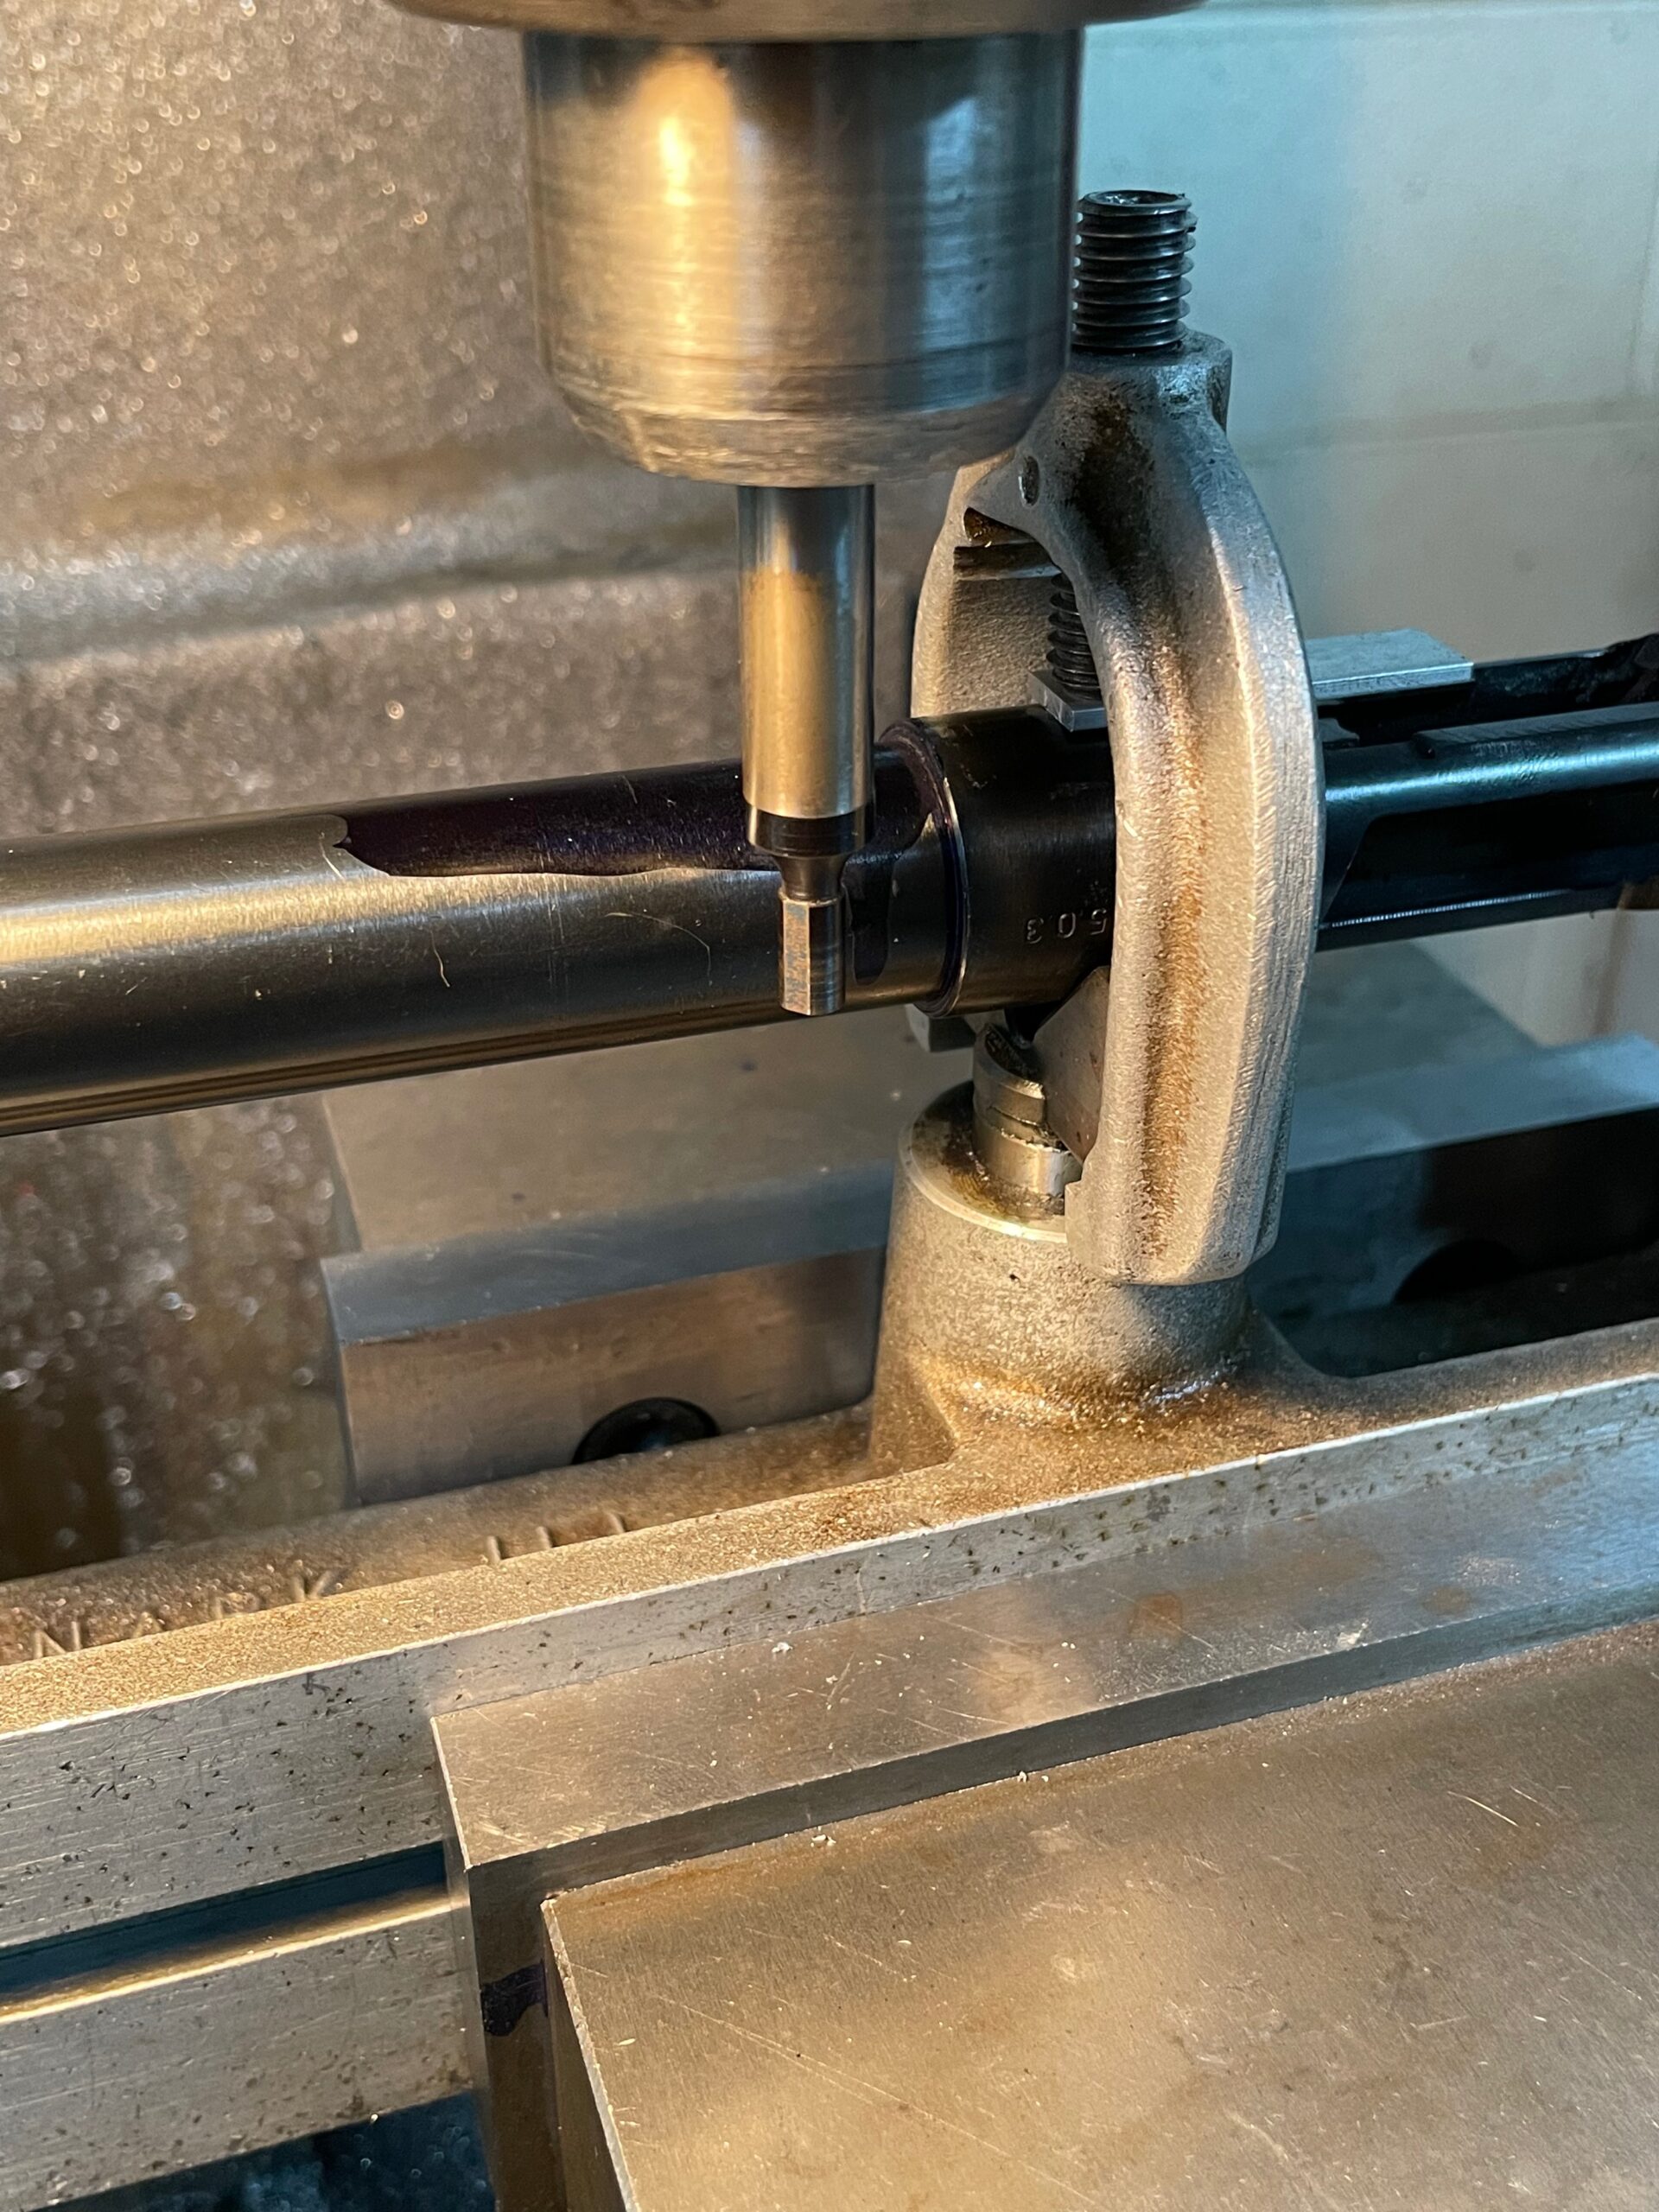
Once holes are located, center drill with a #2 center drill, then drill, chamfer and tap two 8-32 holes leaving plenty of “meat” between the bottom of the hole and the bore. A 0.160” hole depth is adequate to hold fasteners using a bottoming drill and tap.
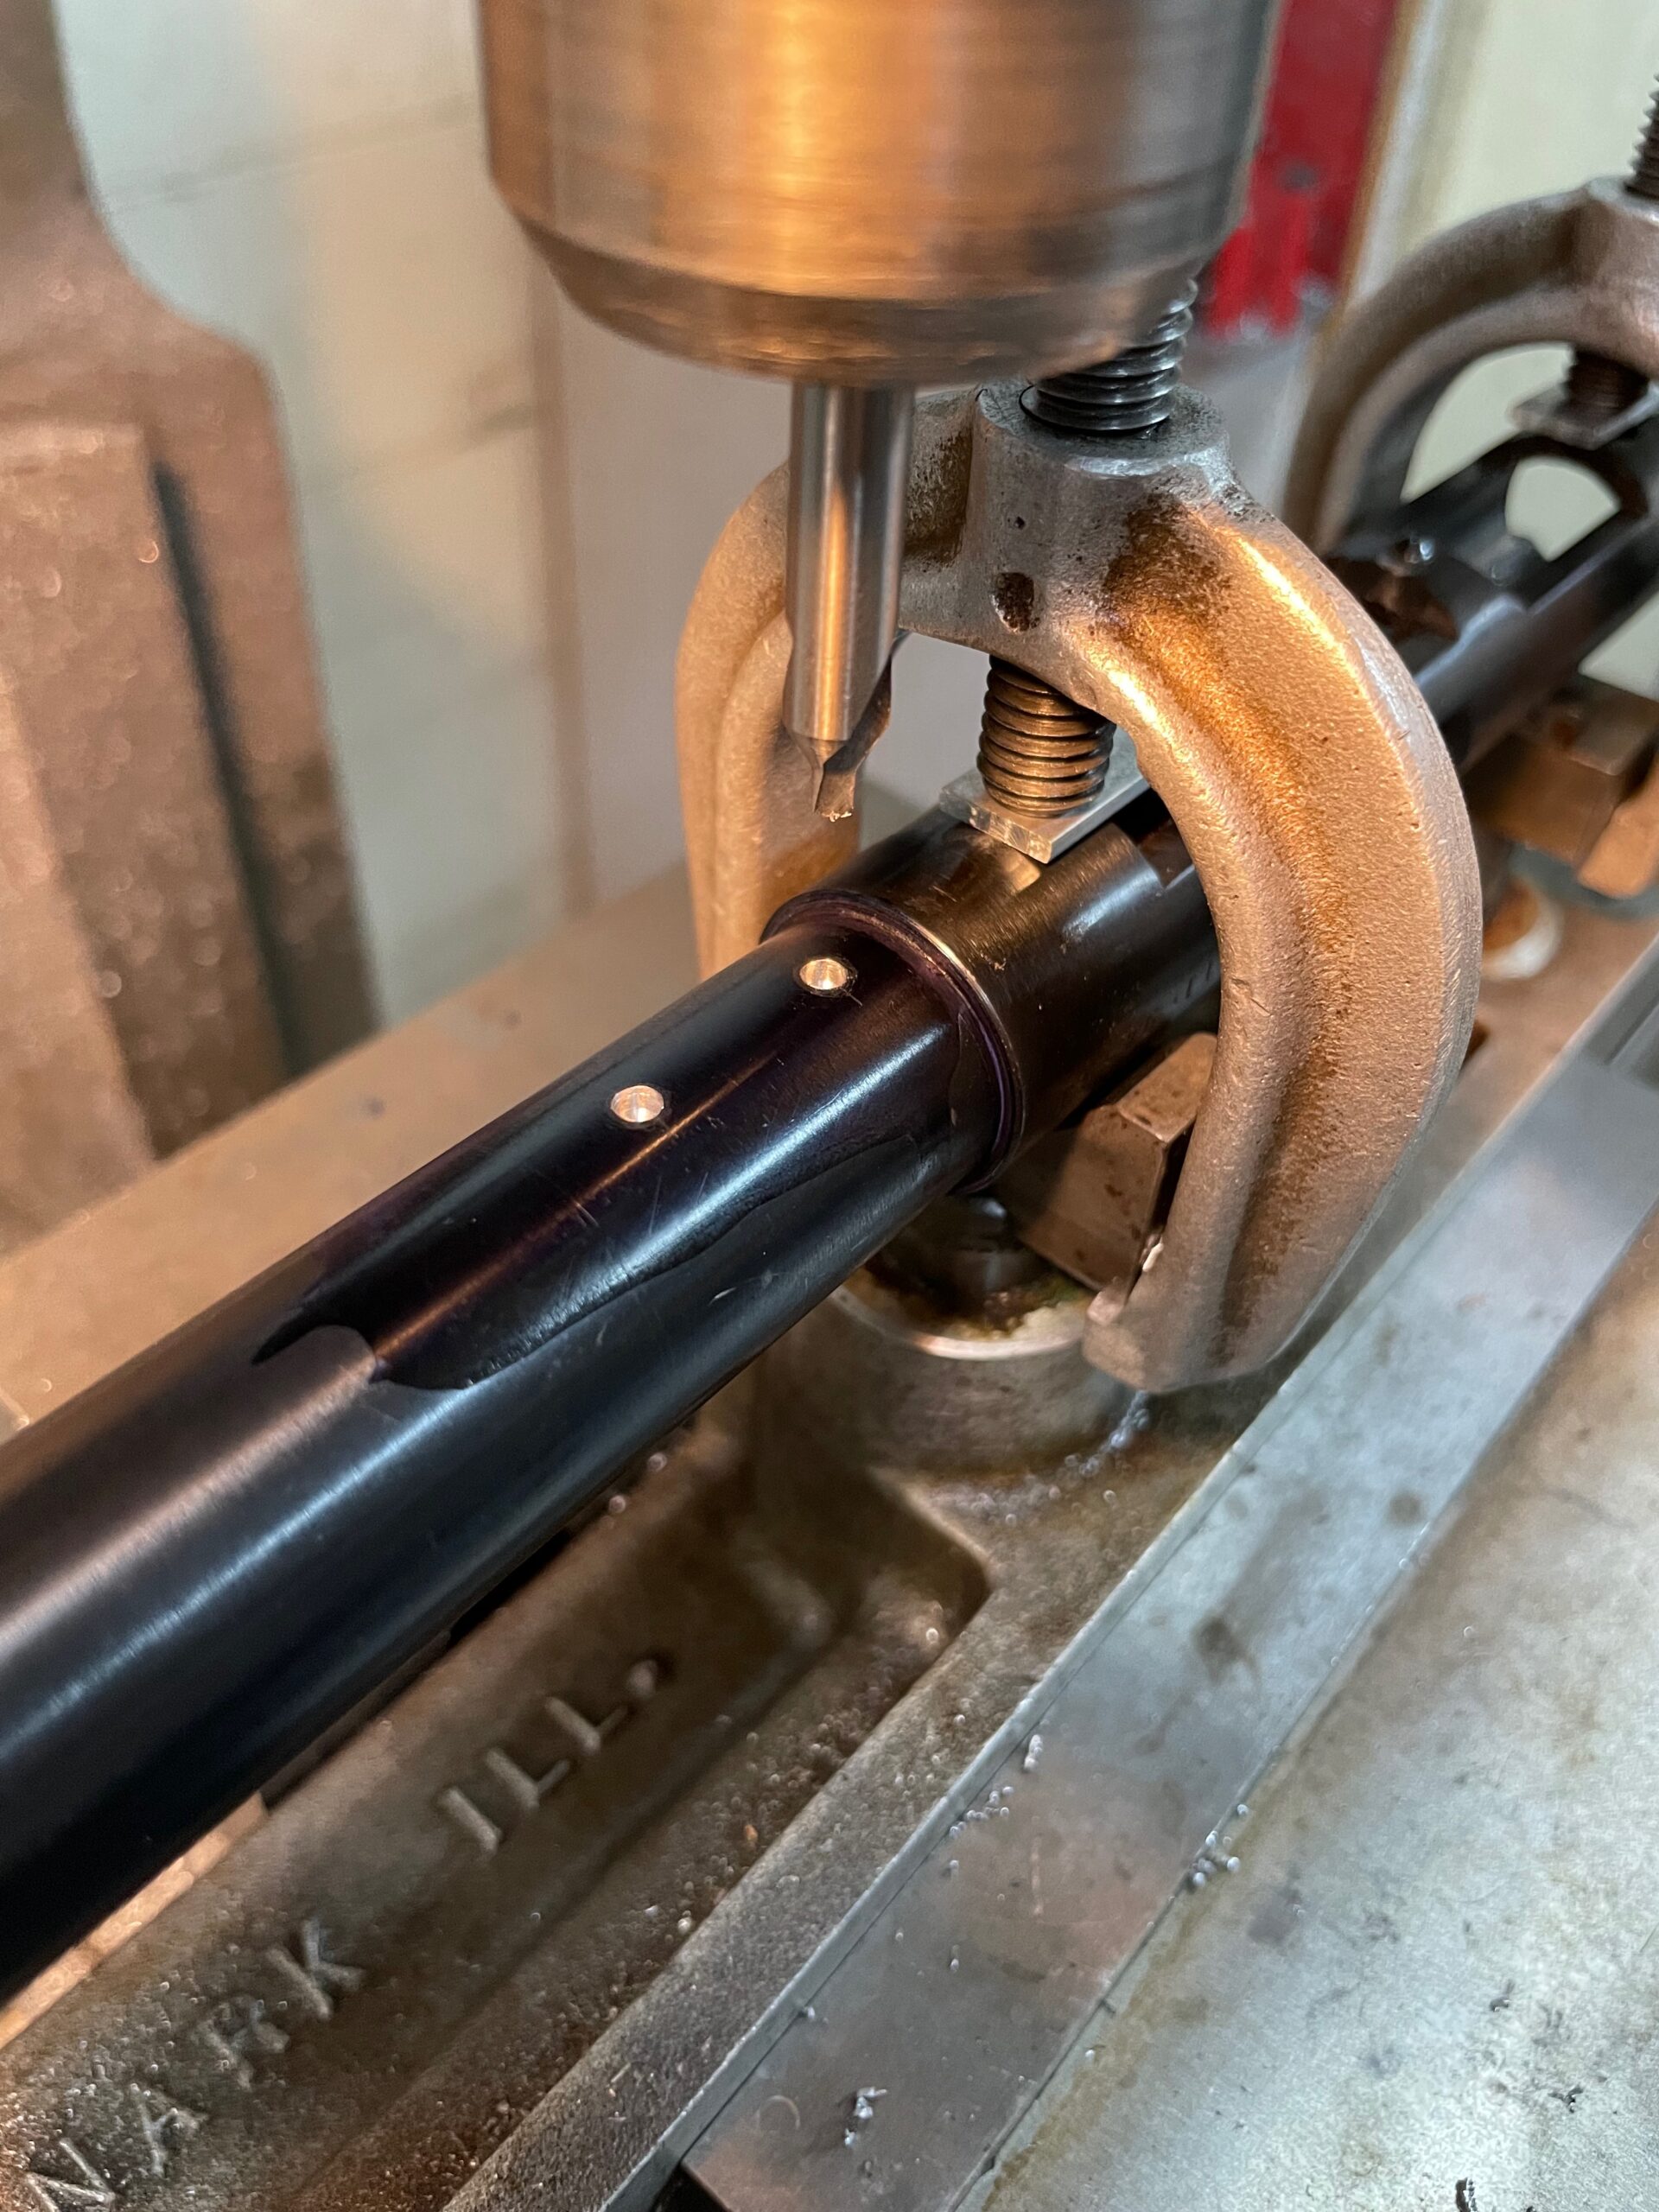
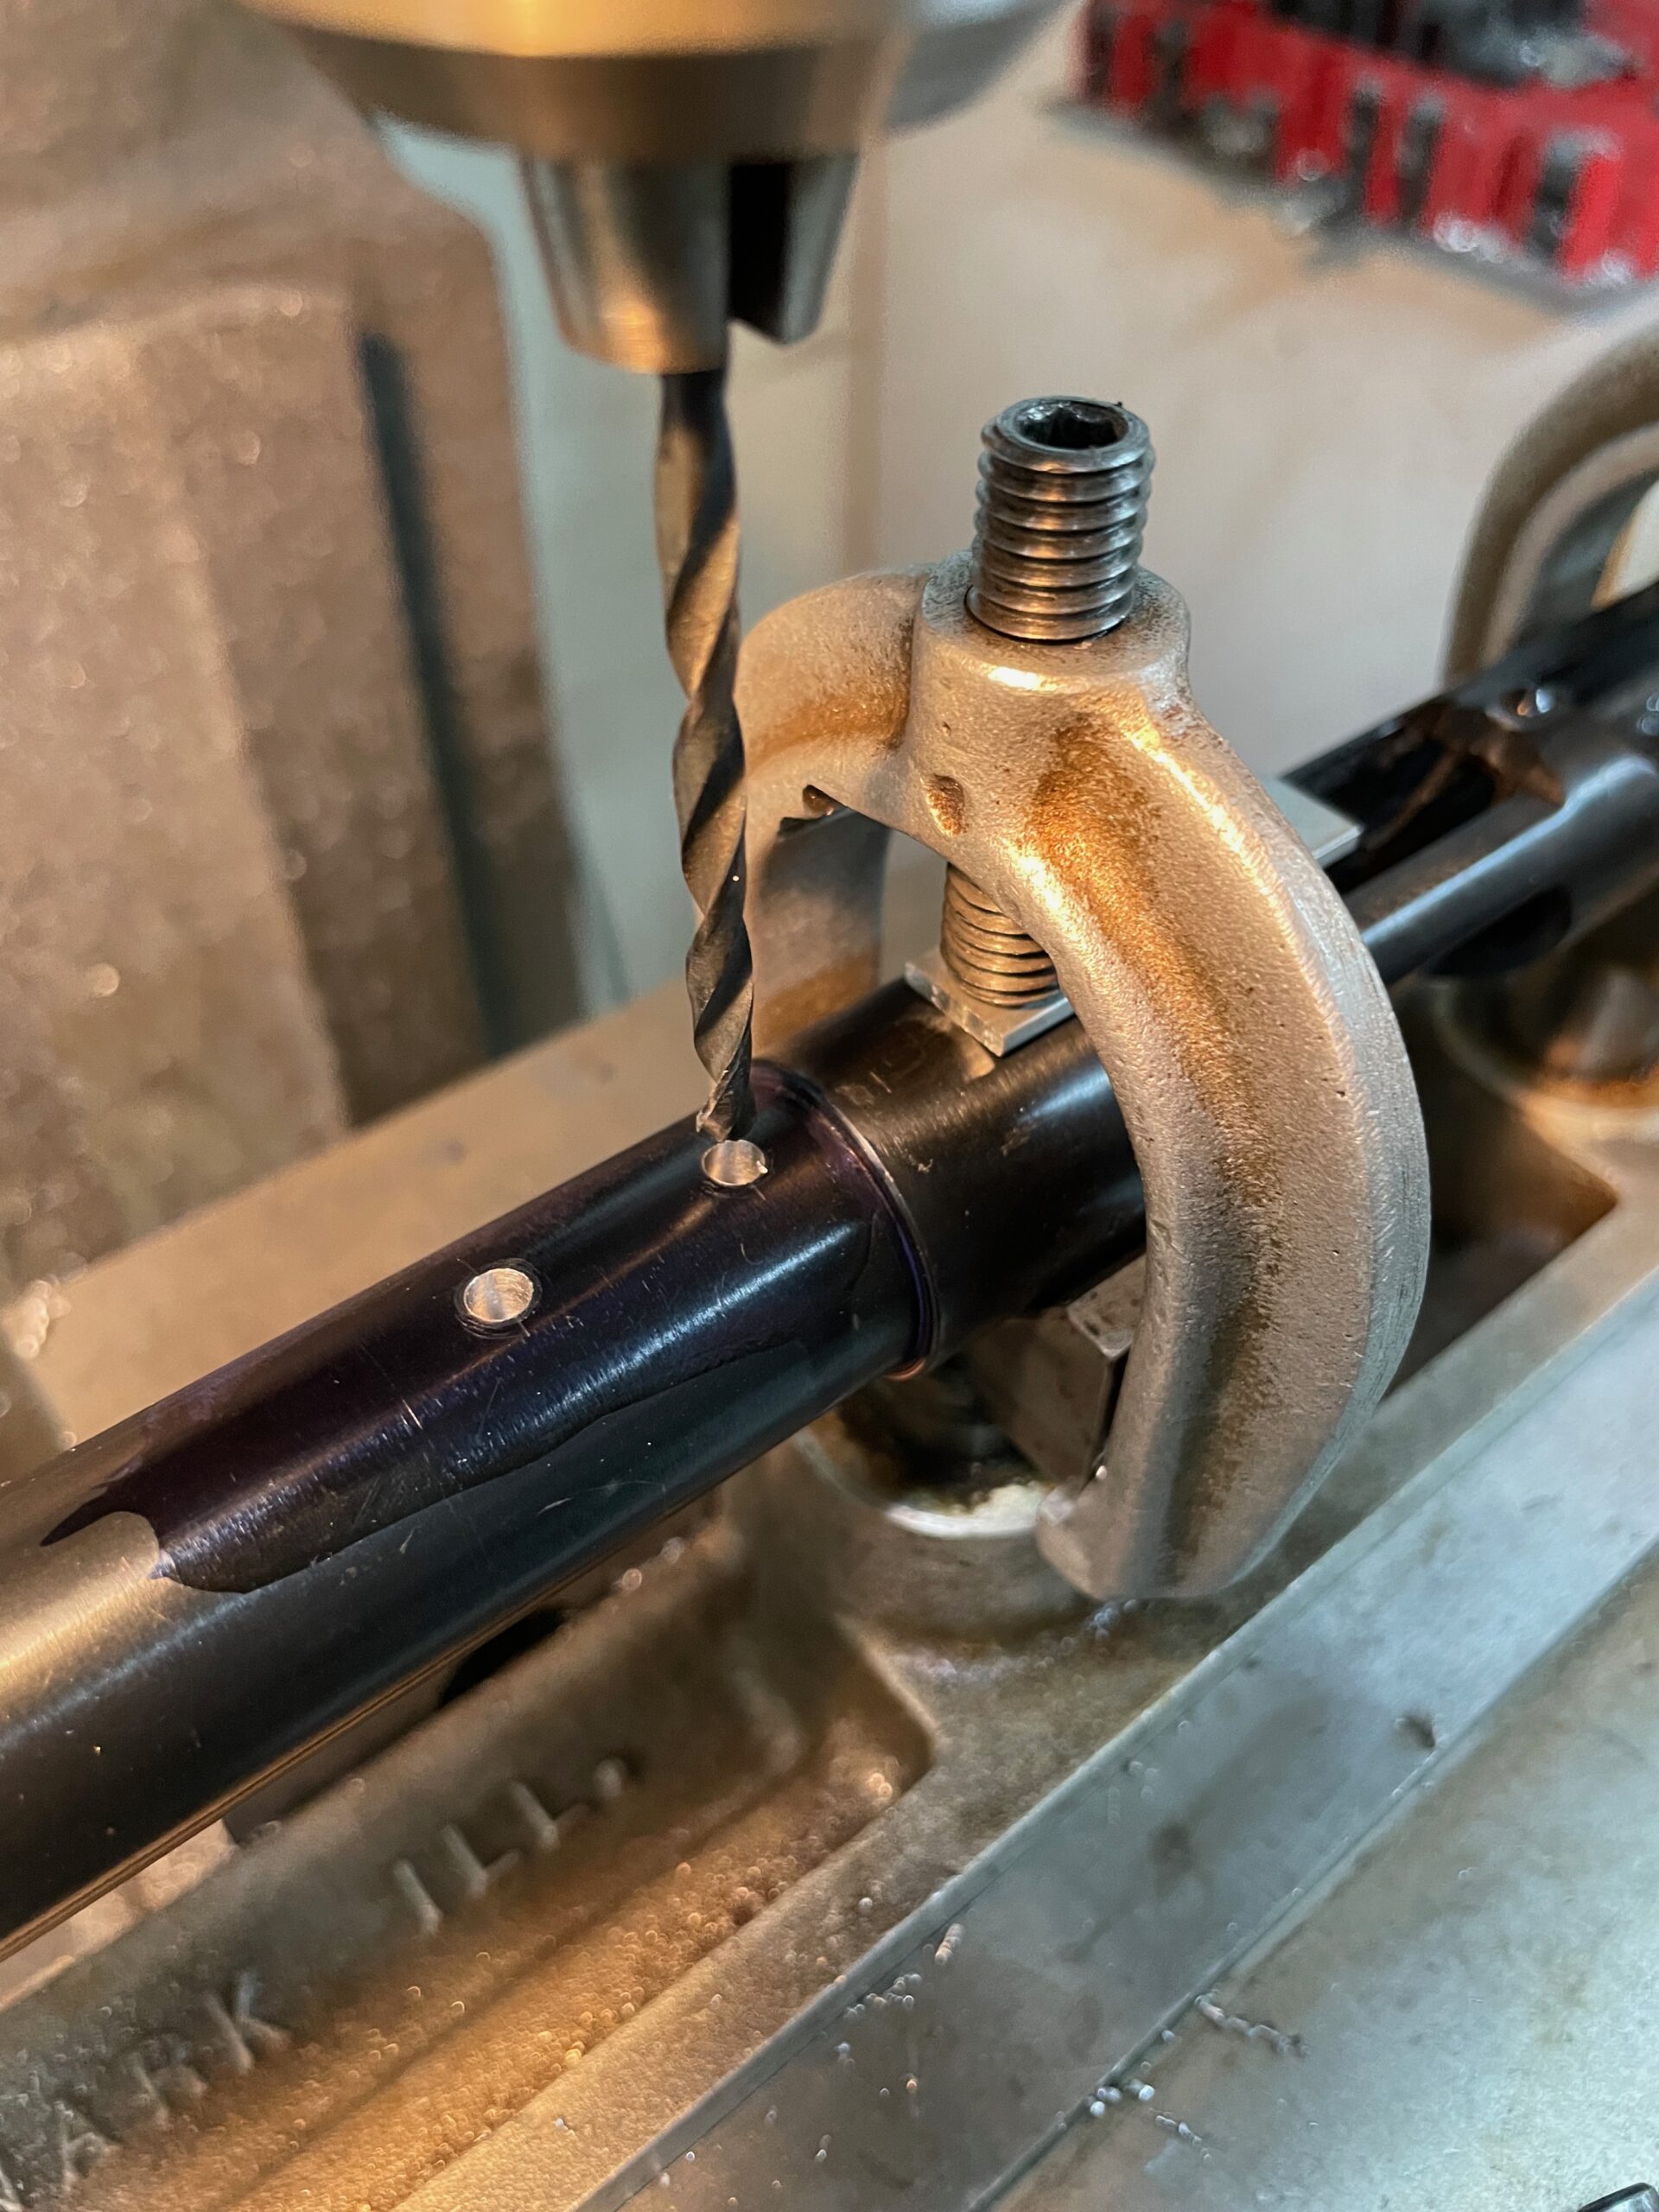
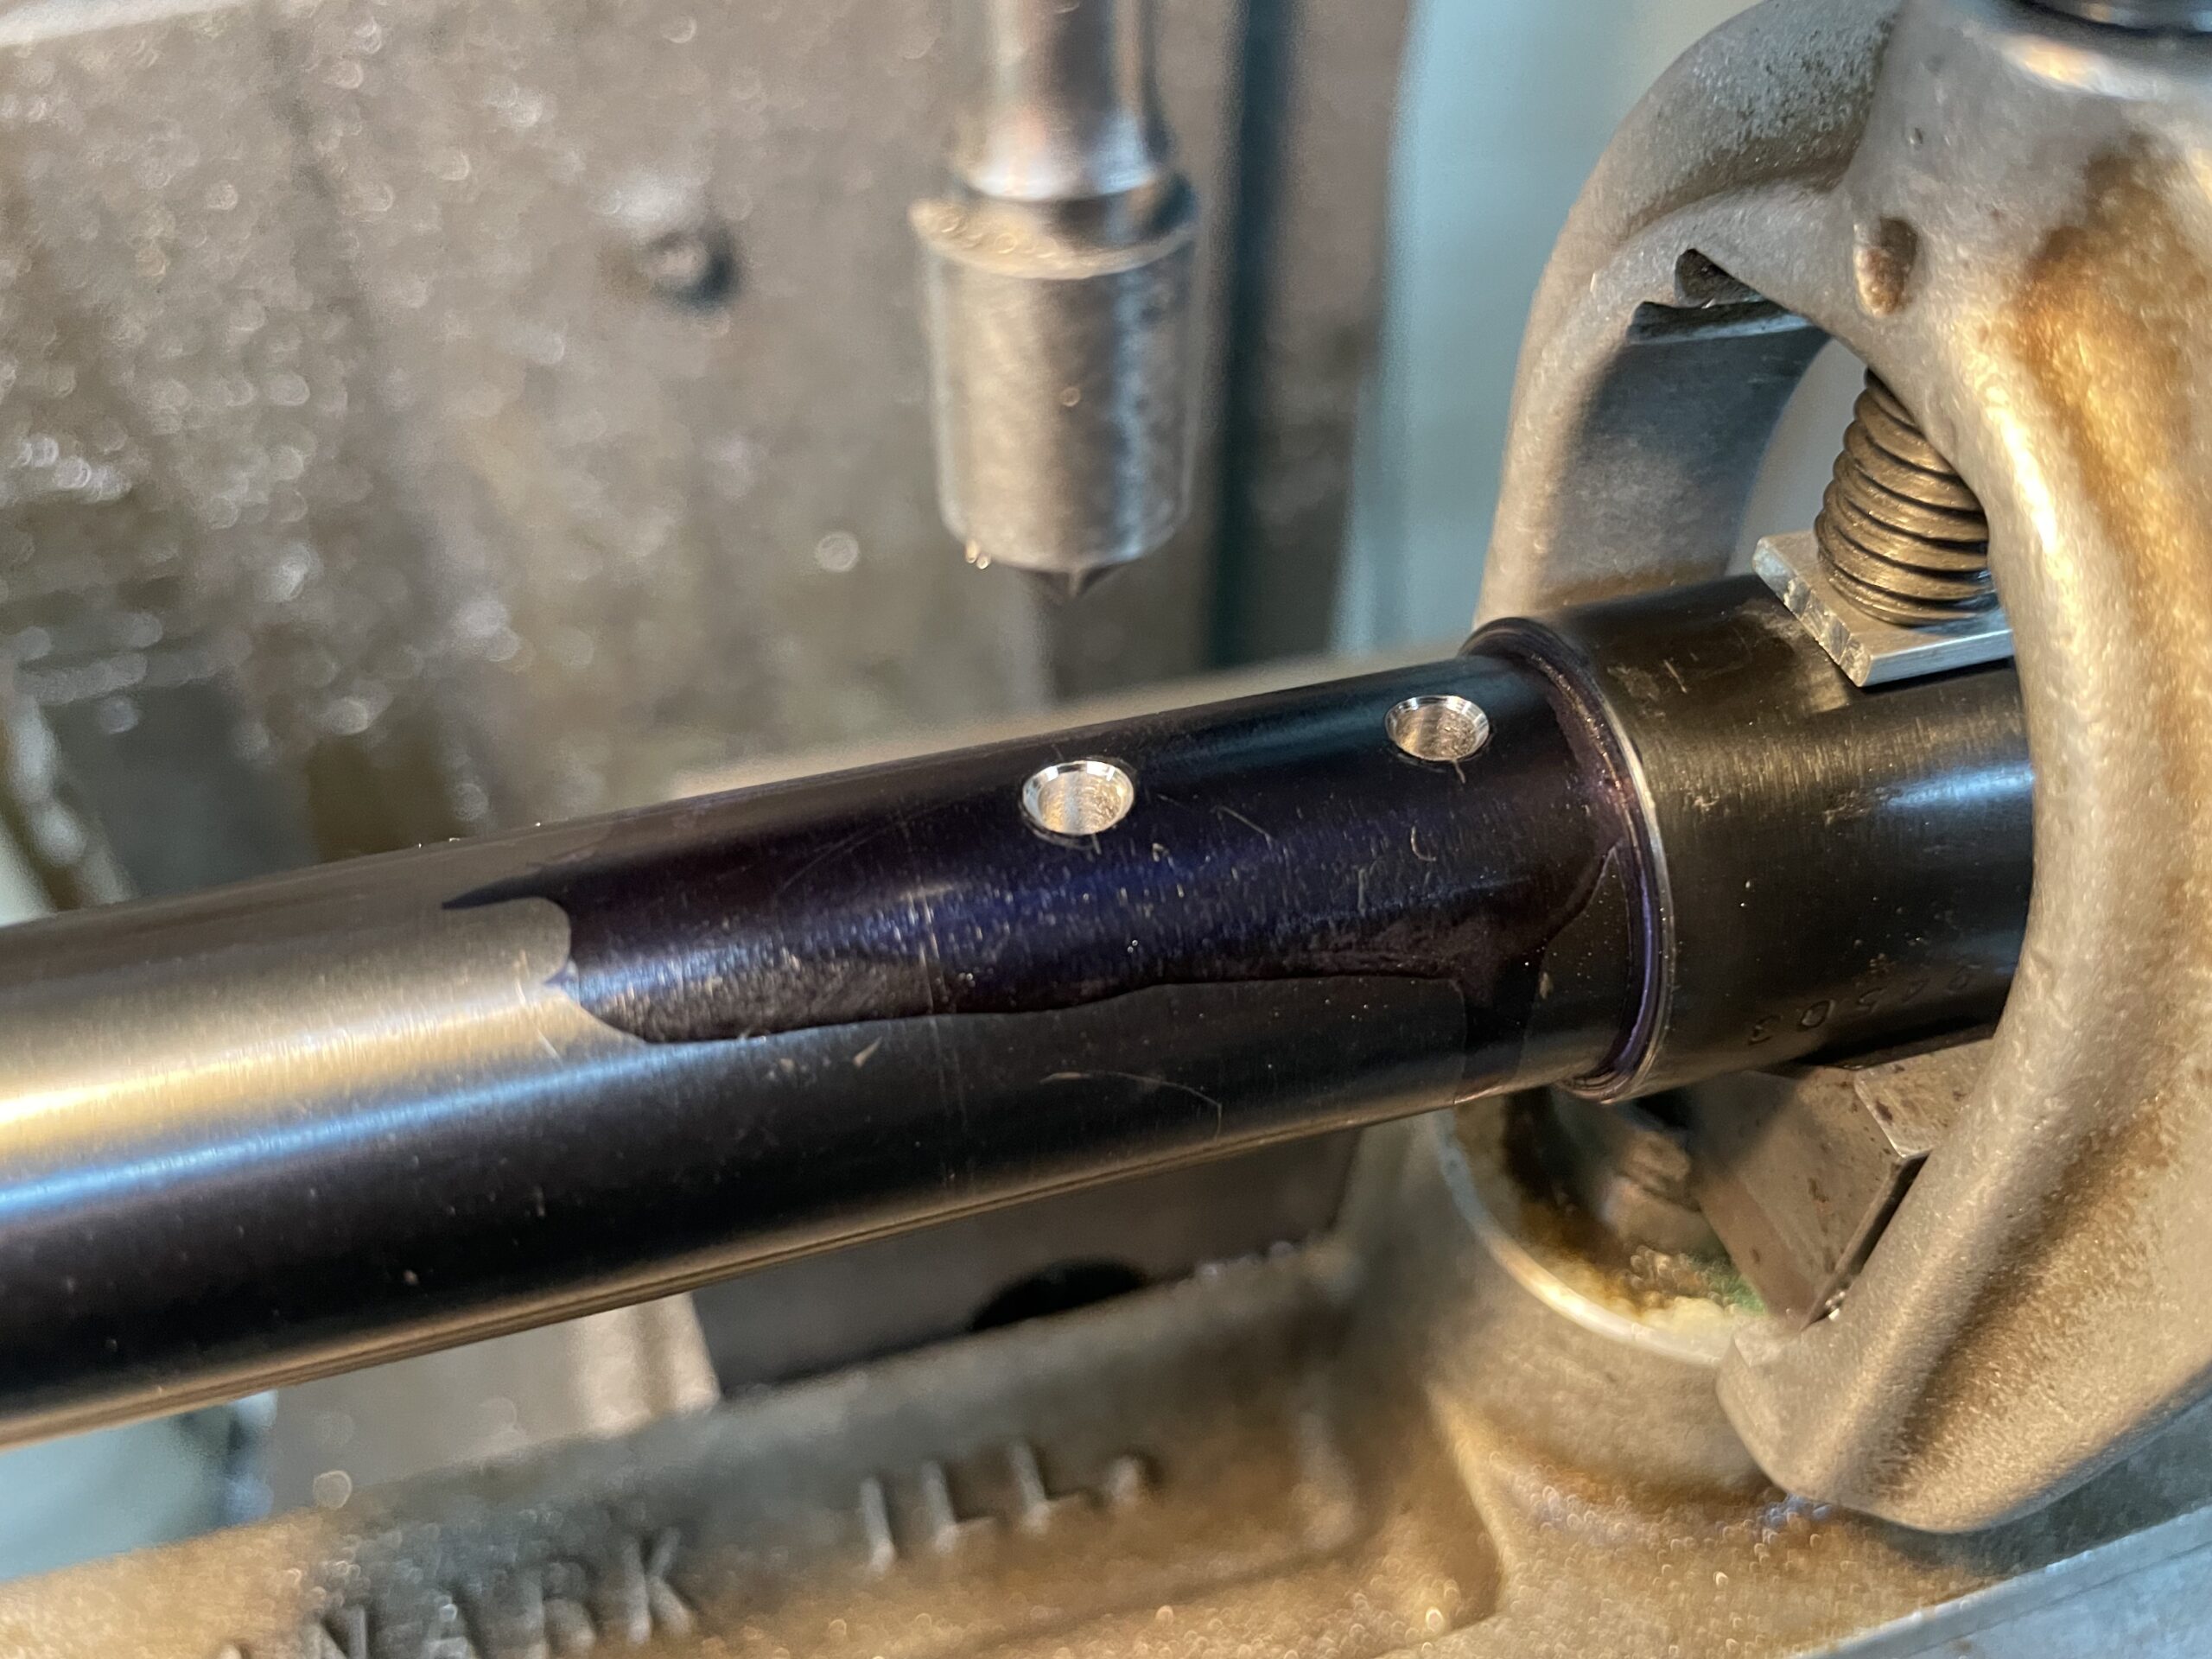
Once holes are drilled and tapped, install the rail using a drop of blue Loctite. Torque screws to 15 in/lbs. Reassemble the pistol and install your favorite rail-mounted accessory.
